
The importance of checking your work

Yesterday I was all set to post about three bracelets I made. Here they are -


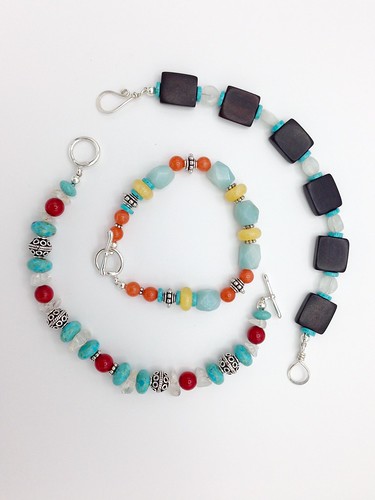
That's the shot I took today.

You can't tell I had to rework the one on the top right can you?

Actually I had to restring it 3 times.

3 times!!

Not a big deal, but it took me many extra minutes. Wasted materials. And made me frustrated and annoyed with myself. All because I didn't check my work.

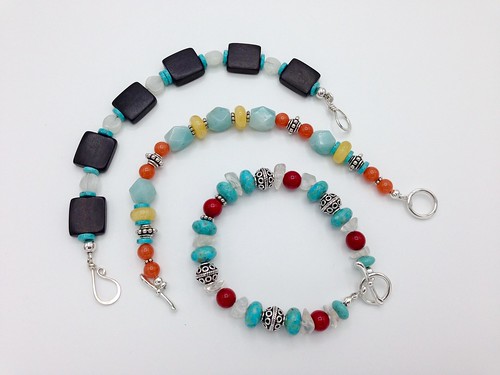
See how they were when I thought I was good to go?


Can you spot my mistake?

Gah!!!

So the lesson here is to check your work. Before you finish the step that completes your project, give it a good once over. By tinkering on the same piece for a while, you can expect to see it a certain way even if it isn't. Kind of a confirmation bias if you follow. You need to step back and evaluate what you've done. Really be sure you have it right before you commit. A few extra seconds can save you a lot of heartache! 


Comments

Popular posts from this blog

Jewelry Making Tools

Part of the mystique of jewelry manufacture is the tools. I admit it, I love new tools. I love good tools. Finely worked tools that have special and often obscure purpose. Sometimes I just go through catalogs looking at stuff and wonder what the hell a person does with such a gadget. I remember spending a lot of time as a little girl at my dad's workbench, messing with his tools (lord help me if I misplaced any). A while back while on a visit to my folks' house I spied dad's coping saw (frame saw/jeweler's saw) in his workshop and told him I coveted it. He laughed and said I could buy one for about $10 at Lowes. He's right of course, but that old one looked sweet. My own tool collection is modest and consists largely of the inexpensive variety. Until this craft starts to pay off, I can't justify the expense when money is put to better use buying materials (Christmas is coming and you never know what Santa will bring – Lindstrom, hint hint). But every ...

A new frontier

I have been ignoring this blog. Yup. Bad blogger. So sue me. I've recently upped my jewelry game to the space I've always wanted to play in - I have progressed beyond wire - to sheet metal and other stuff. Real metal work and soldering.  It's what I've always wanted to do, but haven't. I'll keep the reasons why to myself because it doesn't matter. I'm equipped and practicing and soon I can produce something that I hope won't be awful. So what did I buy to round out my kit? Here we go. Stating with the lower left corner and going clockwise we have - Bezel wire (three sizes) Citric acid pickle Third hand Pickle pot (tiny crock pot) Copper tongs (not required for C.A. pickle, but that's ok) 3M polishing pads Tripod Copper sheets Saw blades Cuprinol anti-firescale spray Handy flux Flux picks Sheet solder and cannisters More brass and nickel silver sheets Burnisher (for bezel setting), gorgeous #4 file, and twe...

Signature Style

Most jewelry artists are known for a specific look. Think David Yurman and you know there will be twisted sterling silver involved in every piece. Bankable and something customers come to depend on. But what about an artist just starting out? Should you stick to a particular look or design or should you branch out and have a wider field of possibilities? This is something I'm working through myself. In the early 2000s when I first started making jewelry, I followed the herd. Doing the easy stuff - the stuff I saw on other shop sites and at craft fairs. The problem is, I don't want to be known for stuff you can get at craft fairs. I don't buy or wear that kind of jewelry and making it doesn't appeal to me. So. I need to define my style and therefore my customer. In doing so, that means I can jettison some of the fussy/cutesy stuff that used to be in my line at first. Also, I can identify a particular type of jewelry that will help bolster that style to the cu...